Creating Custom Tests
While Pie’s autonomous discovery provides broad coverage, the Pie Test Assistant empowers you to target specific scenarios with surgical precision.
Why Create a Custom Test?
- New Features: Test a brand-new feature before the AI has had a chance to fully explore it in multiple runs.
- Complex Business Logic: Verify specific, multi-step workflows that are critical to your business (e.g., “Apply a specific discount code, use a gift card, and pay the rest with a credit card”).
- High-Priority Edge Cases: Ensure the app gracefully handles known edge cases that you want to check in every single regression run.
- Specific User Roles: Test a flow from the perspective of a particular user type, like an “Admin” or “Moderator,” which requires a specific setup.
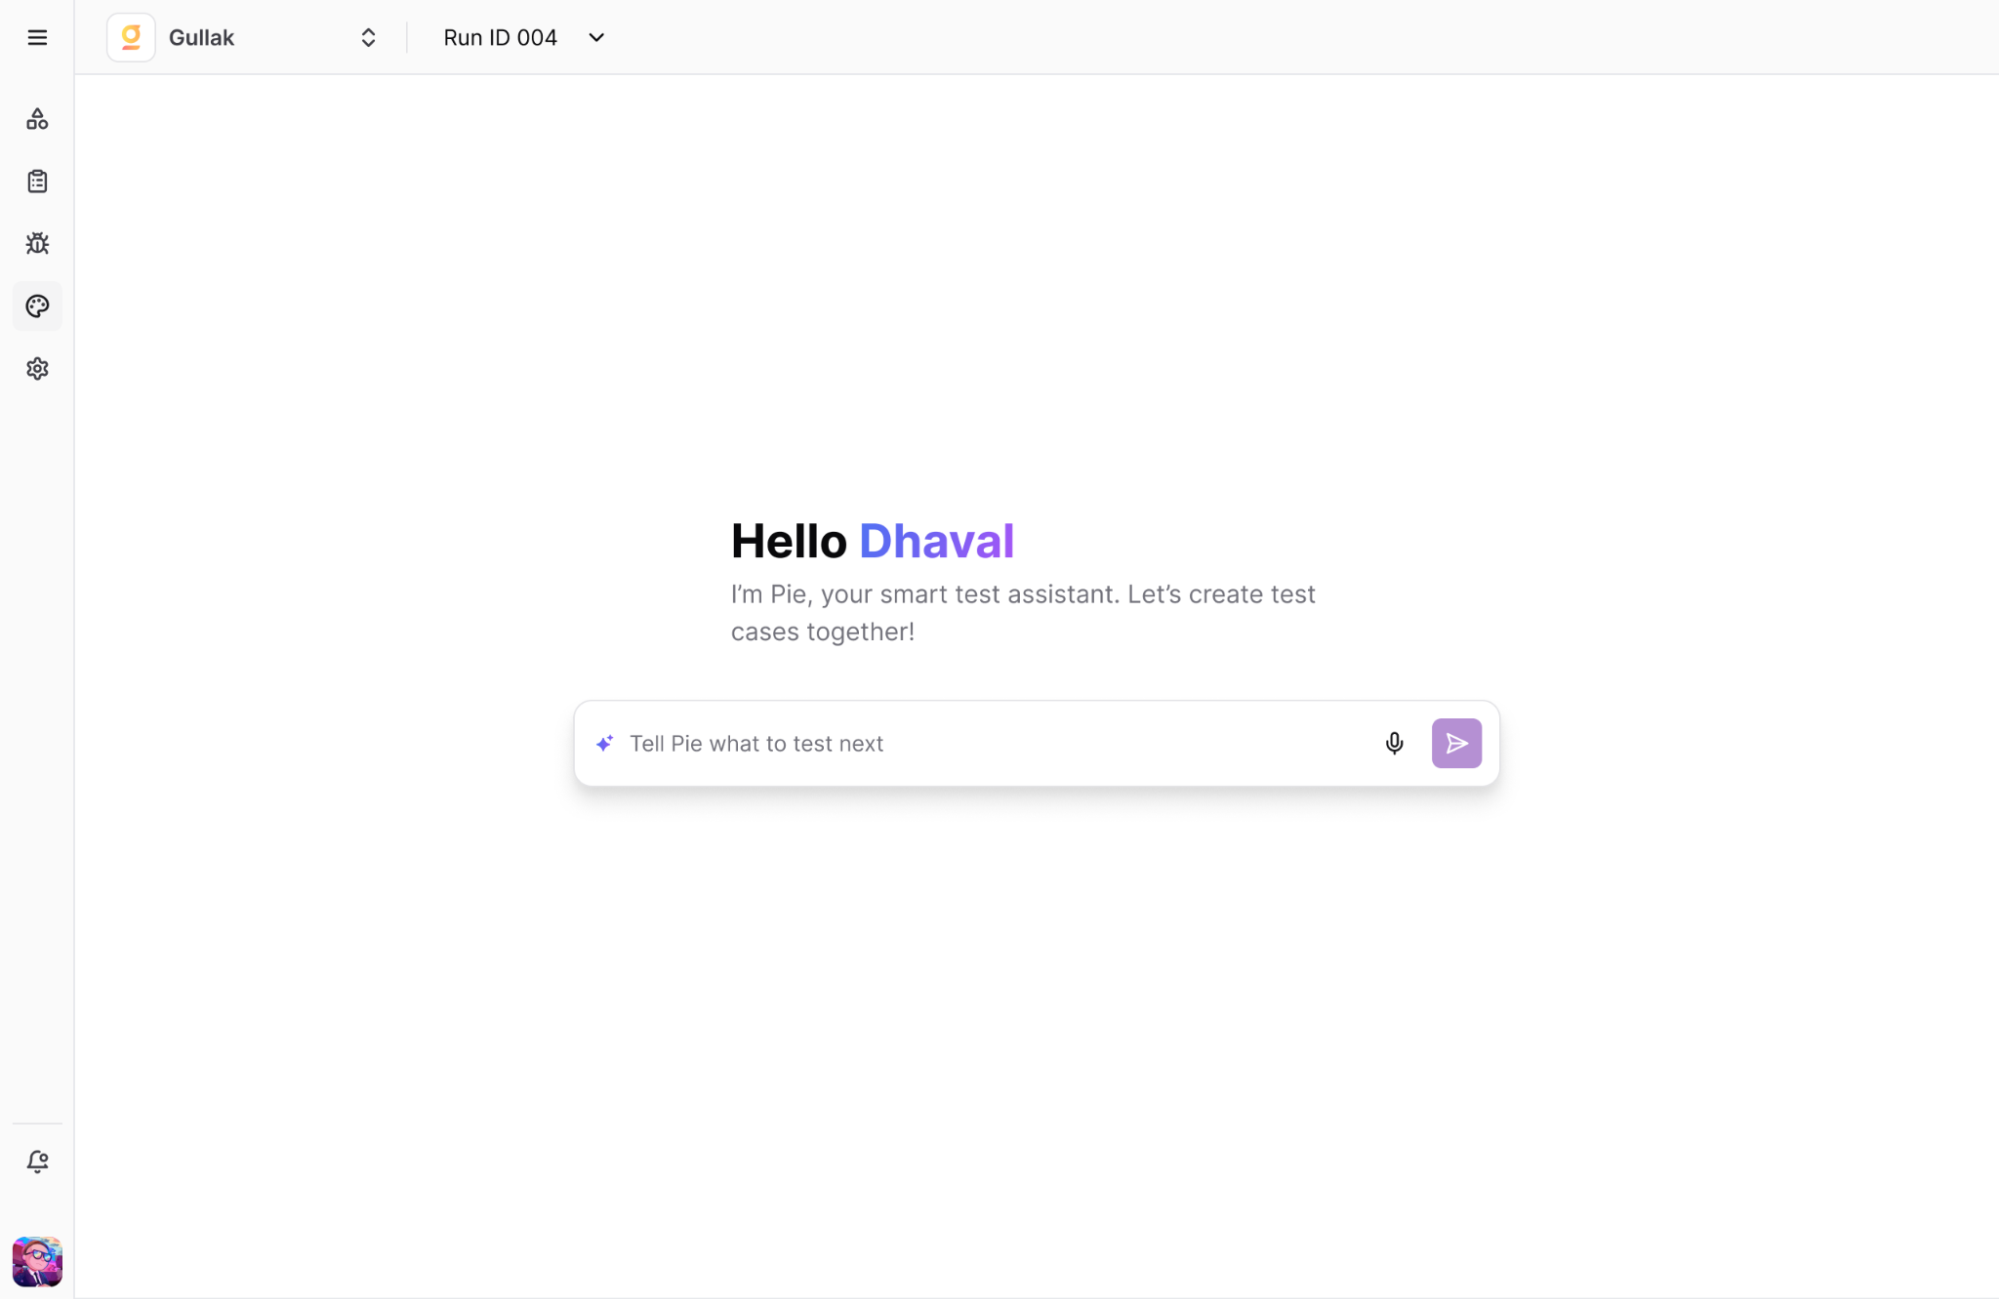
How the Assistant Works
You don’t write scripts—you write instructions. When you provide a prompt:
- The AI agent performs a live exploration of your app to understand the flow.
- It translates that exploration into a formal test case with clear, natural-language steps and assertions.
- It validates the test to ensure it works before saving it.
How-To: Build Your First Custom Test
Let’s create a custom test in 5 simple steps.
Example: Testing a user profile update flow.
Navigate to the Test Cases Tab
Go to the “Test Cases” section in your project.Open the Pie Test Assistant
Click the “Add Test Case” or “Ask Pie” button.Write Your Prompt
In the chat interface, type a step-by-step instruction in plain English.
Example Prompt:"Log in with user 'test@pie.inc' and password 'password123'. Navigate to the user profile page, click the 'Edit Profile' button, change the first name to 'Alex', and save the changes. Verify that the name on the profile page is updated to 'Alex'."Let the AI Work
The assistant will perform the actions in your app, identify elements, and draft the test steps.Review and Save
Review the steps and assertions. If they look correct, click “Save Test Case.”
It will now be added to your suite and run automatically in all future test runs for this project.